
 Sashiko means "little stabs" and is usually done with light thread on dark fabric, generally indigo dyed cotton-- you know, like your jeans.
It really looks complicated, but it's only running stitch. There are a few rules about turning corners2, but the mechanics of sashiko are really not at all difficult.
For these patches, I've used a fabric with a square pattern woven in so that I could "cheat" and make my lines and stitches even and on patterns that I've seen, each stitch is charted out for you. Honestly, I don't have time for all that and, I'd wager, neither did the mothers and wives in Japan. Neater stitches are, of course, more desirable, but that comes with practice.
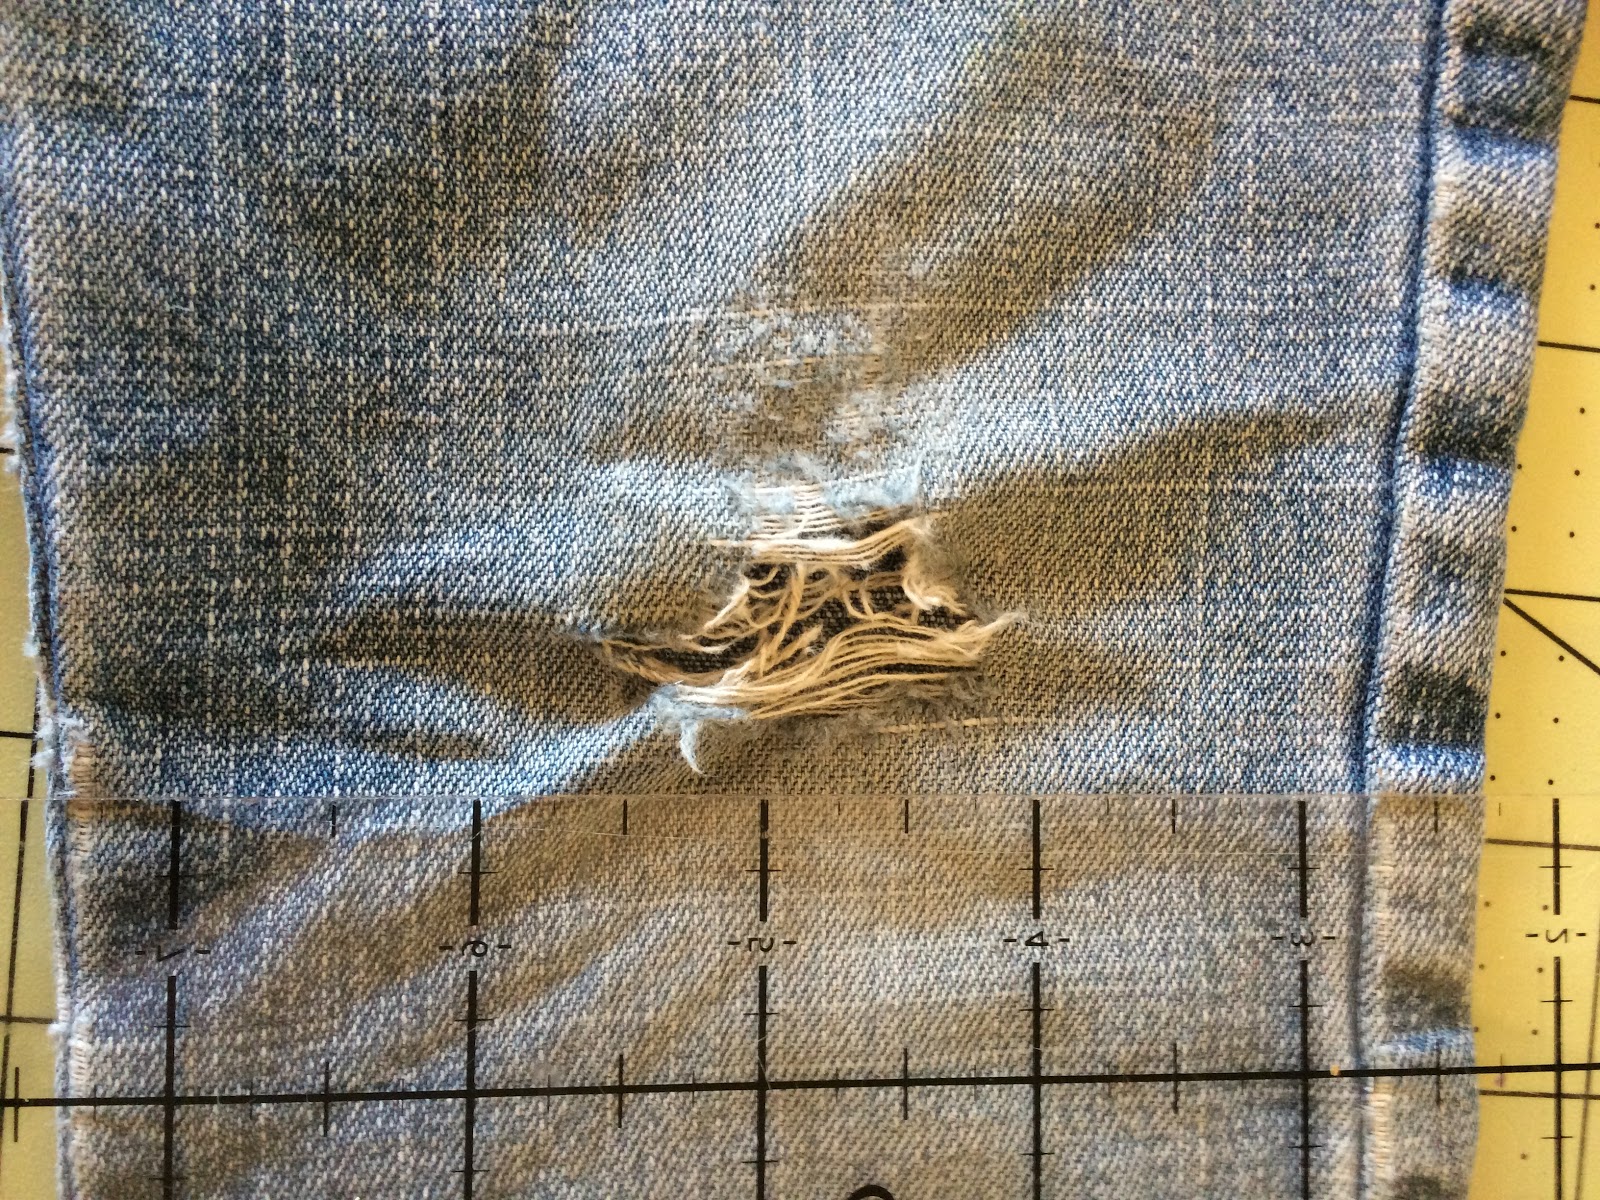 Here's a pair of little Bu jeans that was torn after a fall on concrete. She had a scraped knee and some tears, but was otherwise fine. Her jeans were not so fine. The hole is about two inches wide and about an inch tall. The fabric on the other knee was week, so I decided to do matching knee patches.
She picked Spider-Man fabric for the patches, so I fussy-cut a couple of patches and found patterns that I thought would work well: Amime (net) and Higaki (cypress fence)3.
 Designs were transferred to the patches, then pinned over the holes.
 The knee with the hole got a smaller design and the knee with only weak fabric got the larger design, the rule of thumb being that more stitches means more reinforcement. I did my best to follow the rules for tidy corners and since the wrong side wouldn't be seen, I didn't worry about carrying the thread across the back. I worked from the middle to the edge as best as I could.
Instead of turning the edges under as I did with the jeans above, I decided to blanket stitch around the raw edge to keep it from raveling. I don't know how it's usually done, so this is experimental.

I used some bright blue DMC stranded cotton out of my stash and a regular embroidery needle. Sashiko needles are a thing, as is sashiko thread, but in the interest of economy (with a nod to those thrifty Japanese ladies), I used what I had.
The result seems sturdy so far, but we'll see how it holds up after some small person action and a wash or two. If my jeans are any indication, I think they'll be fine.
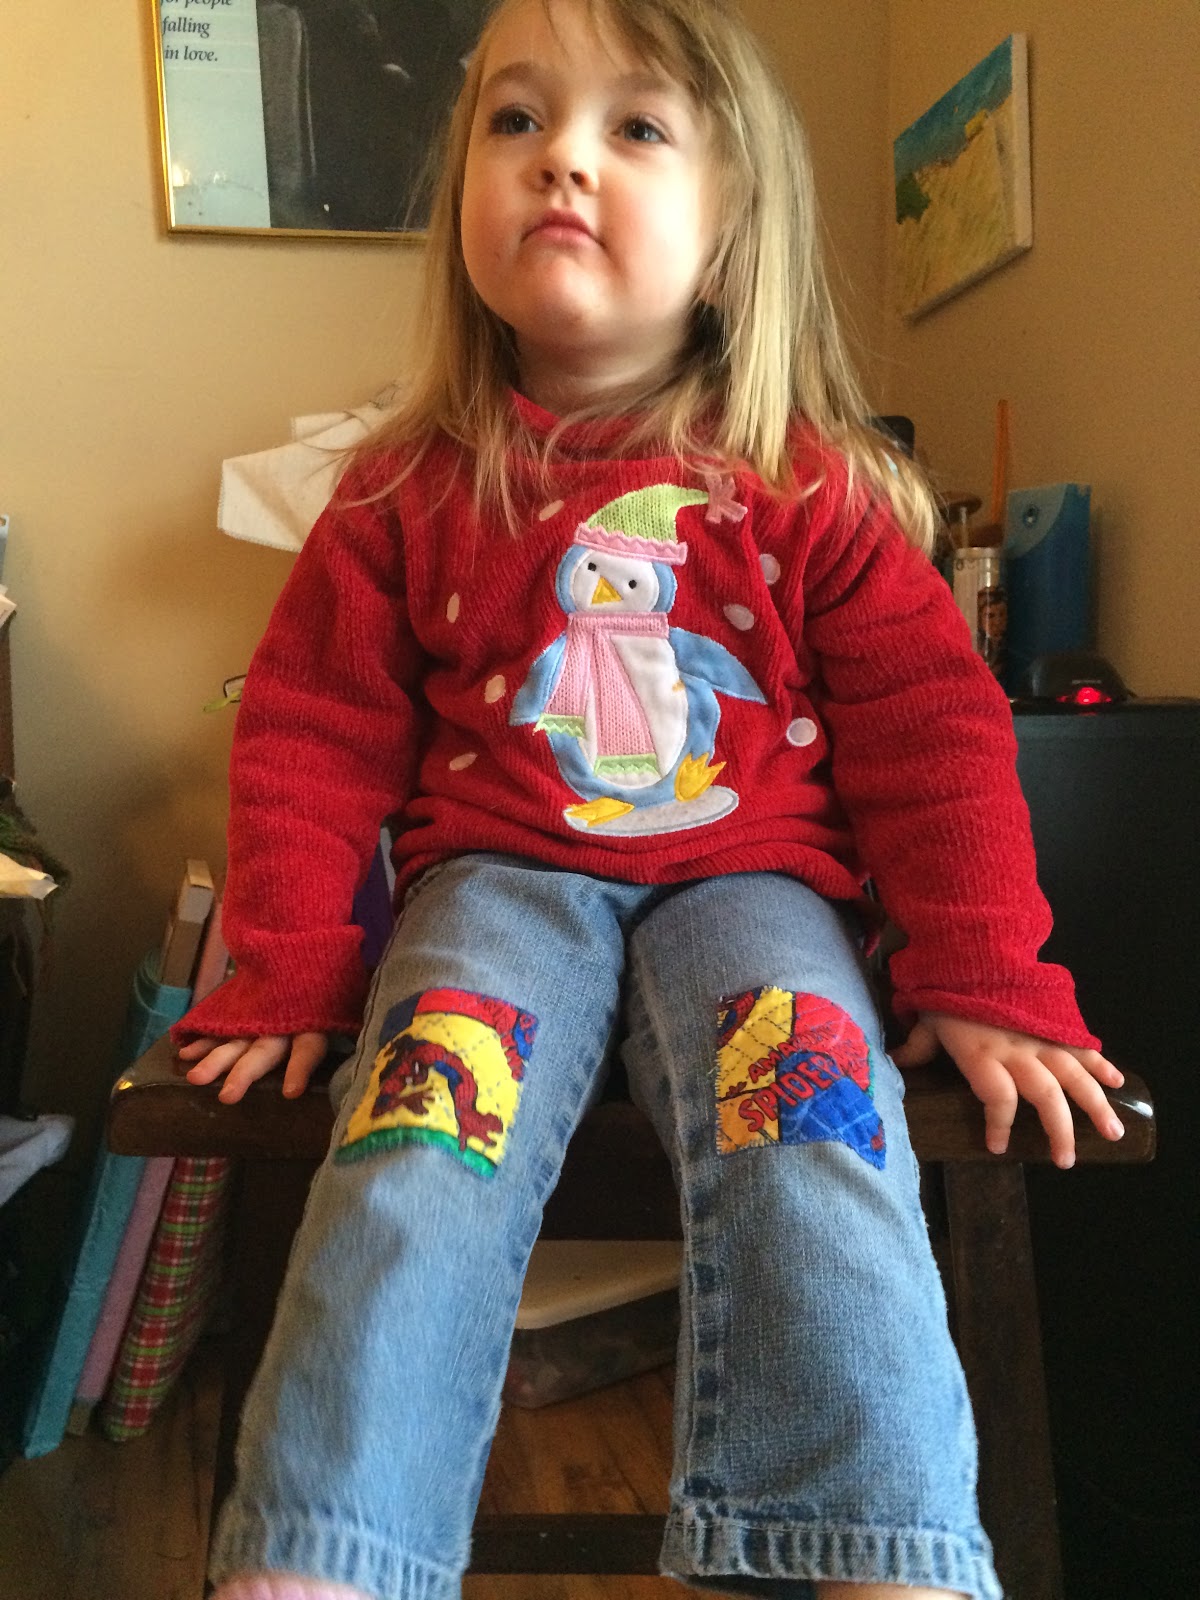
The best part of this repair was when Bu gasped and said, "You fixed them! Thanks, mom!" The whole operation was the work of two days (not constantly) and a happy girl made every minute worthwhile.
Next week will be darning and I've discovered some super fancy techniques that I haven't tried yet.
1. A little history on sashiko here
2. How to turn neat corners
3. A short tutorial and some patterns
No comments:
Post a Comment